How to add a phone-in reservation into ResEasy?
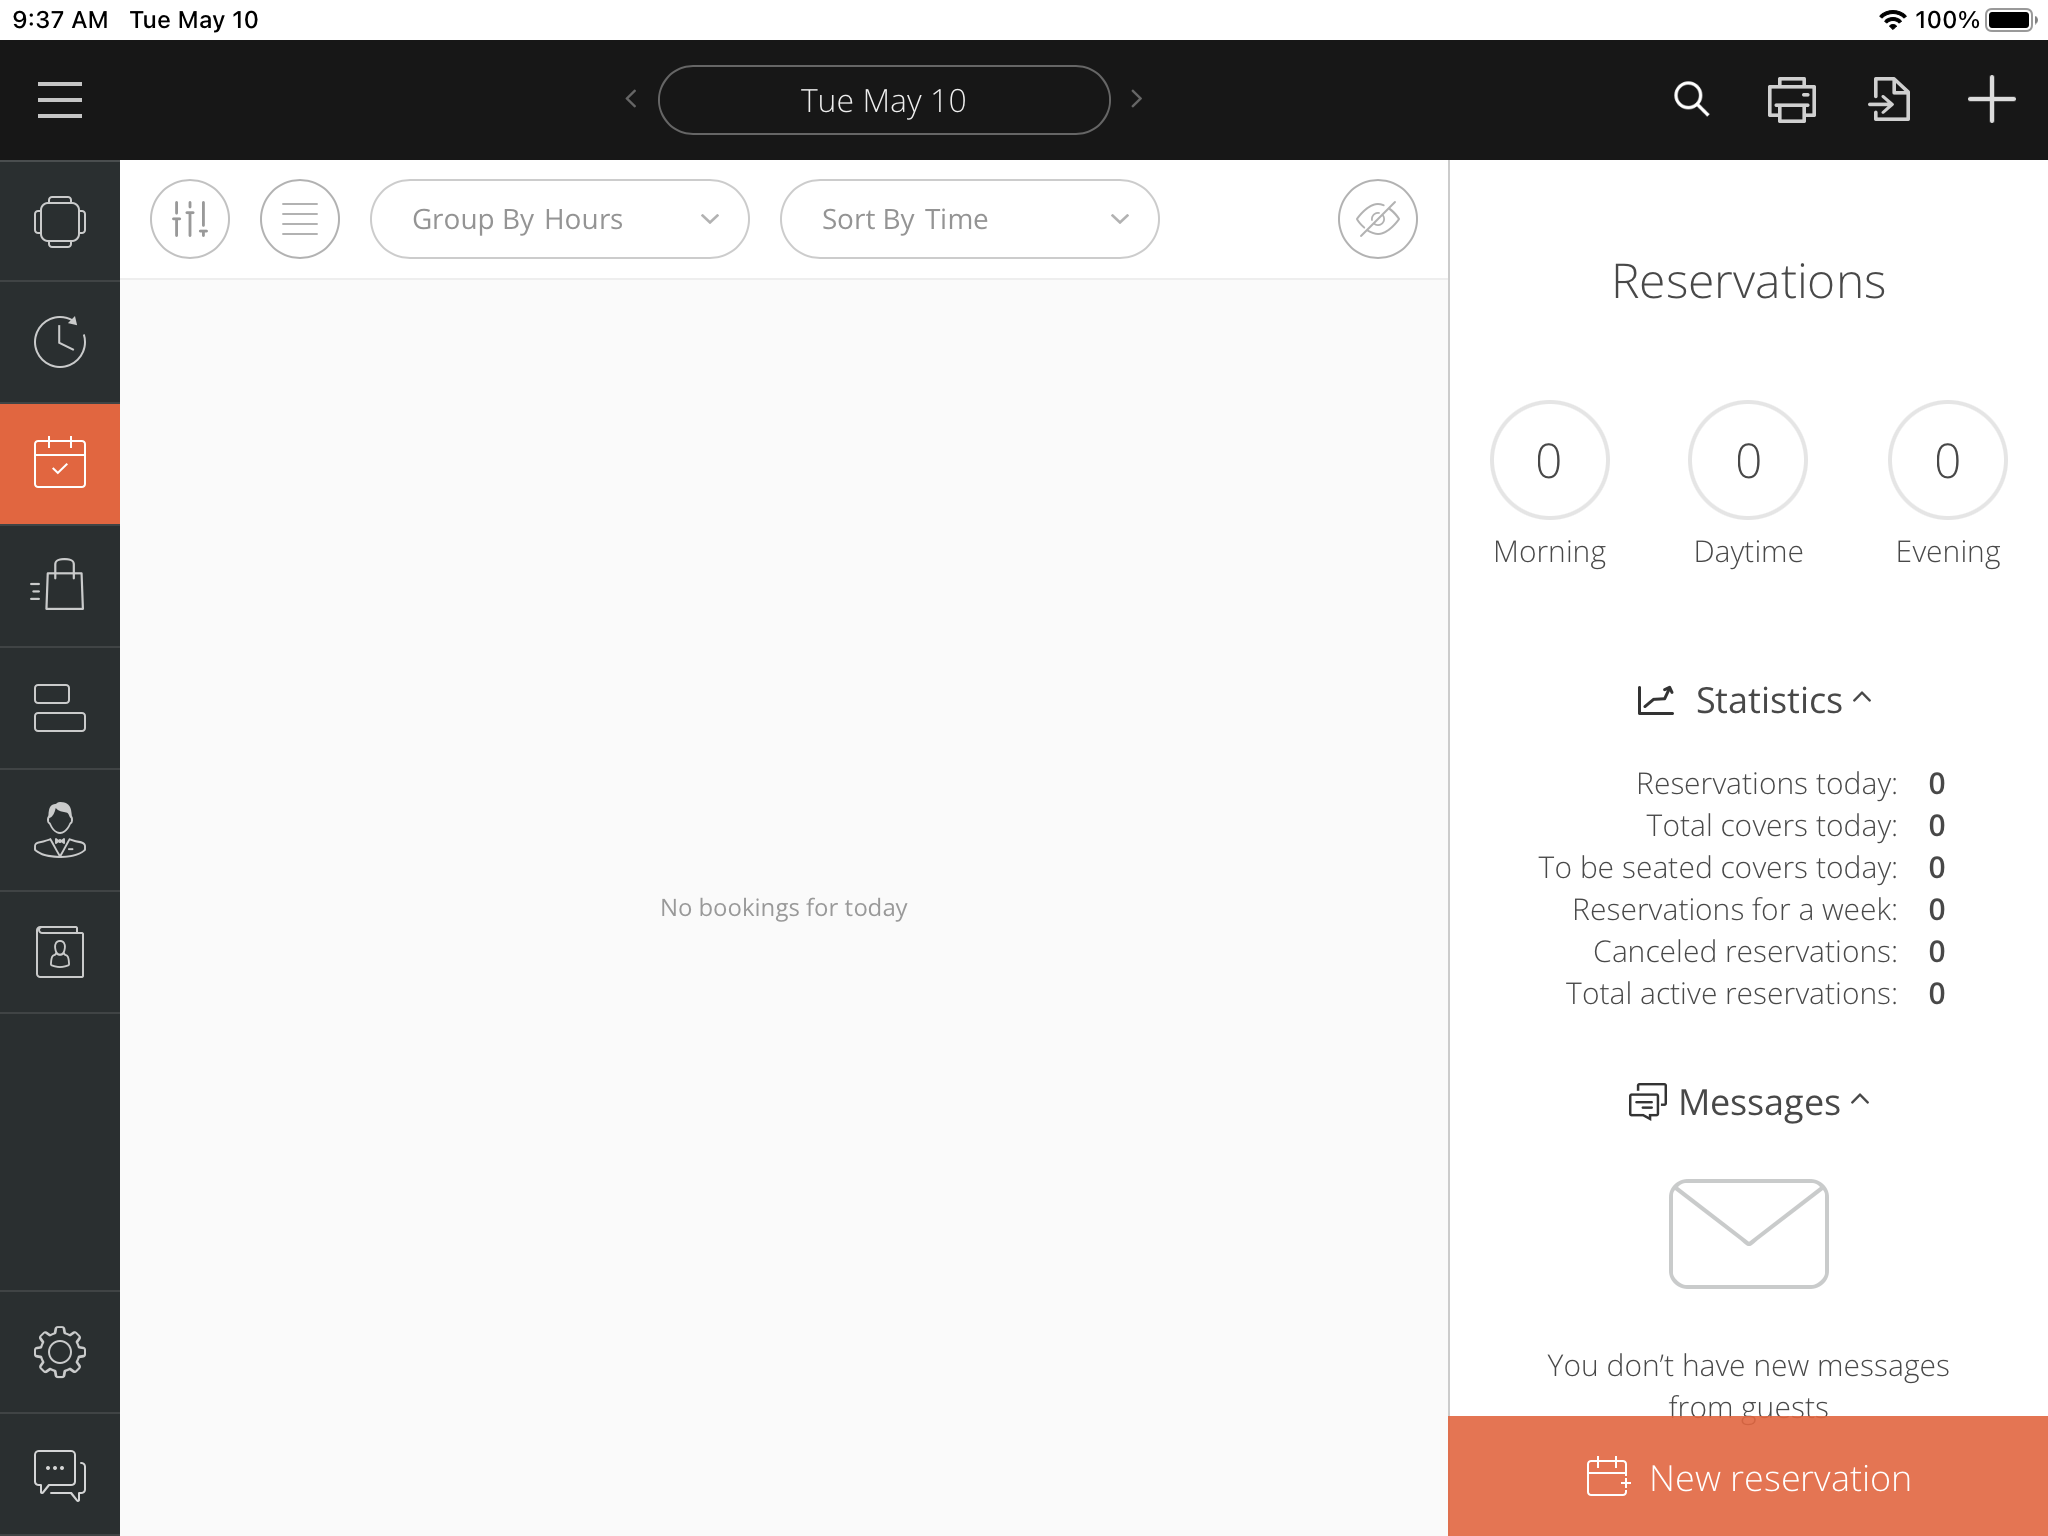
Step 1. Tap on the "New Reservation" button on the lower right side of the screen.
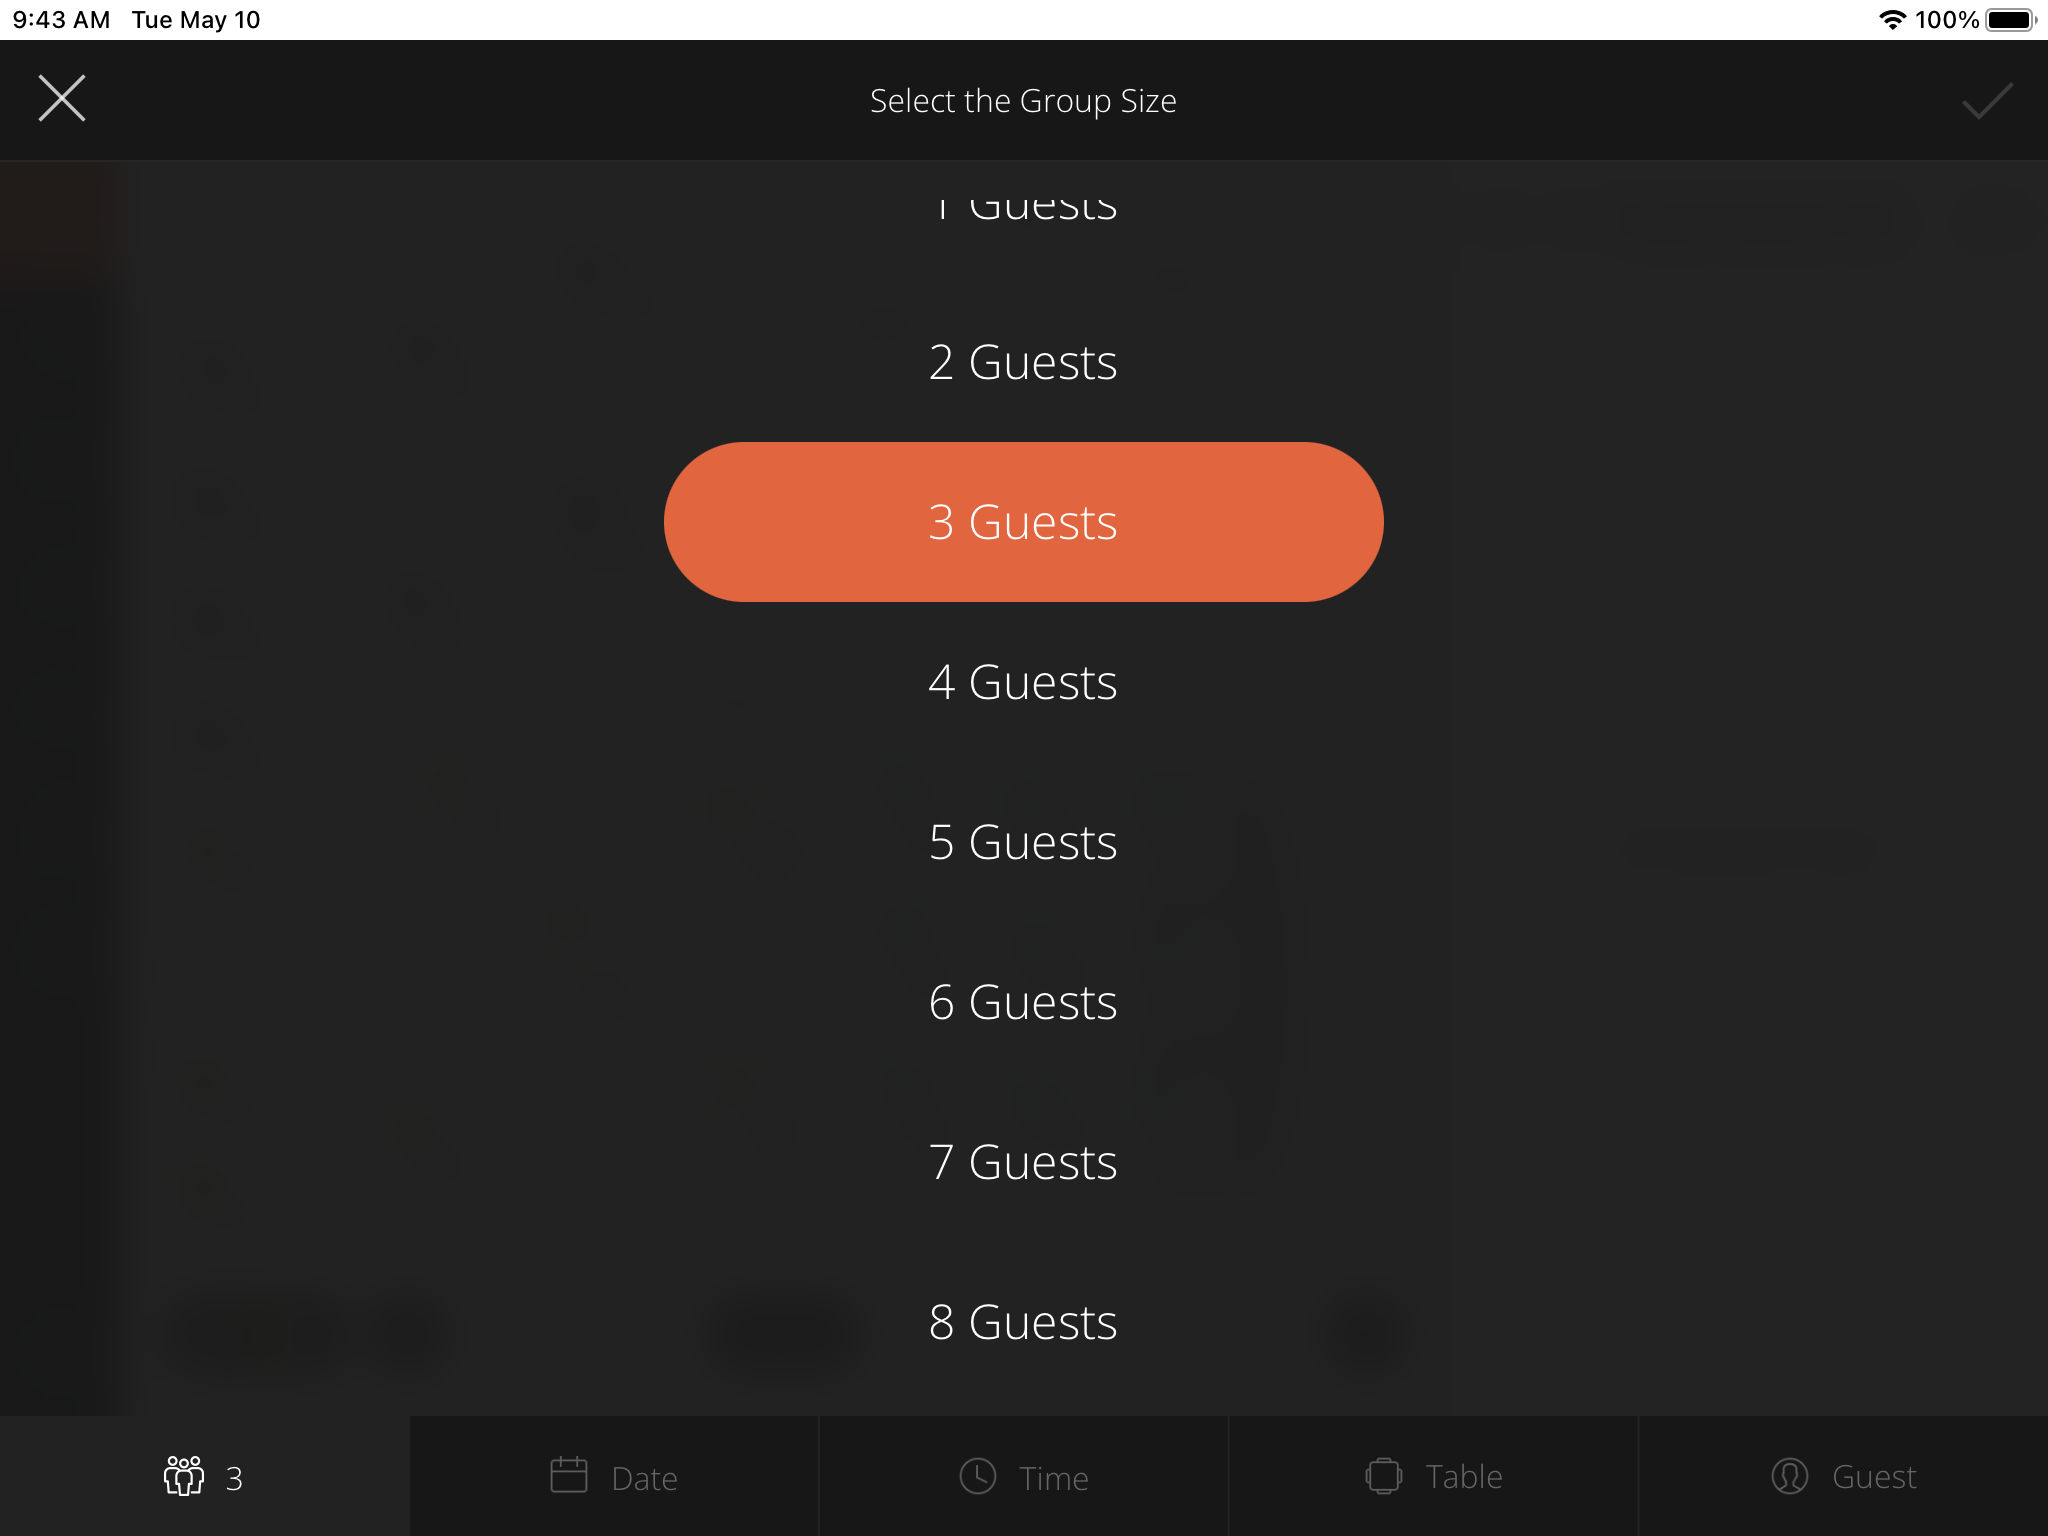
Step 2. Pick the group size
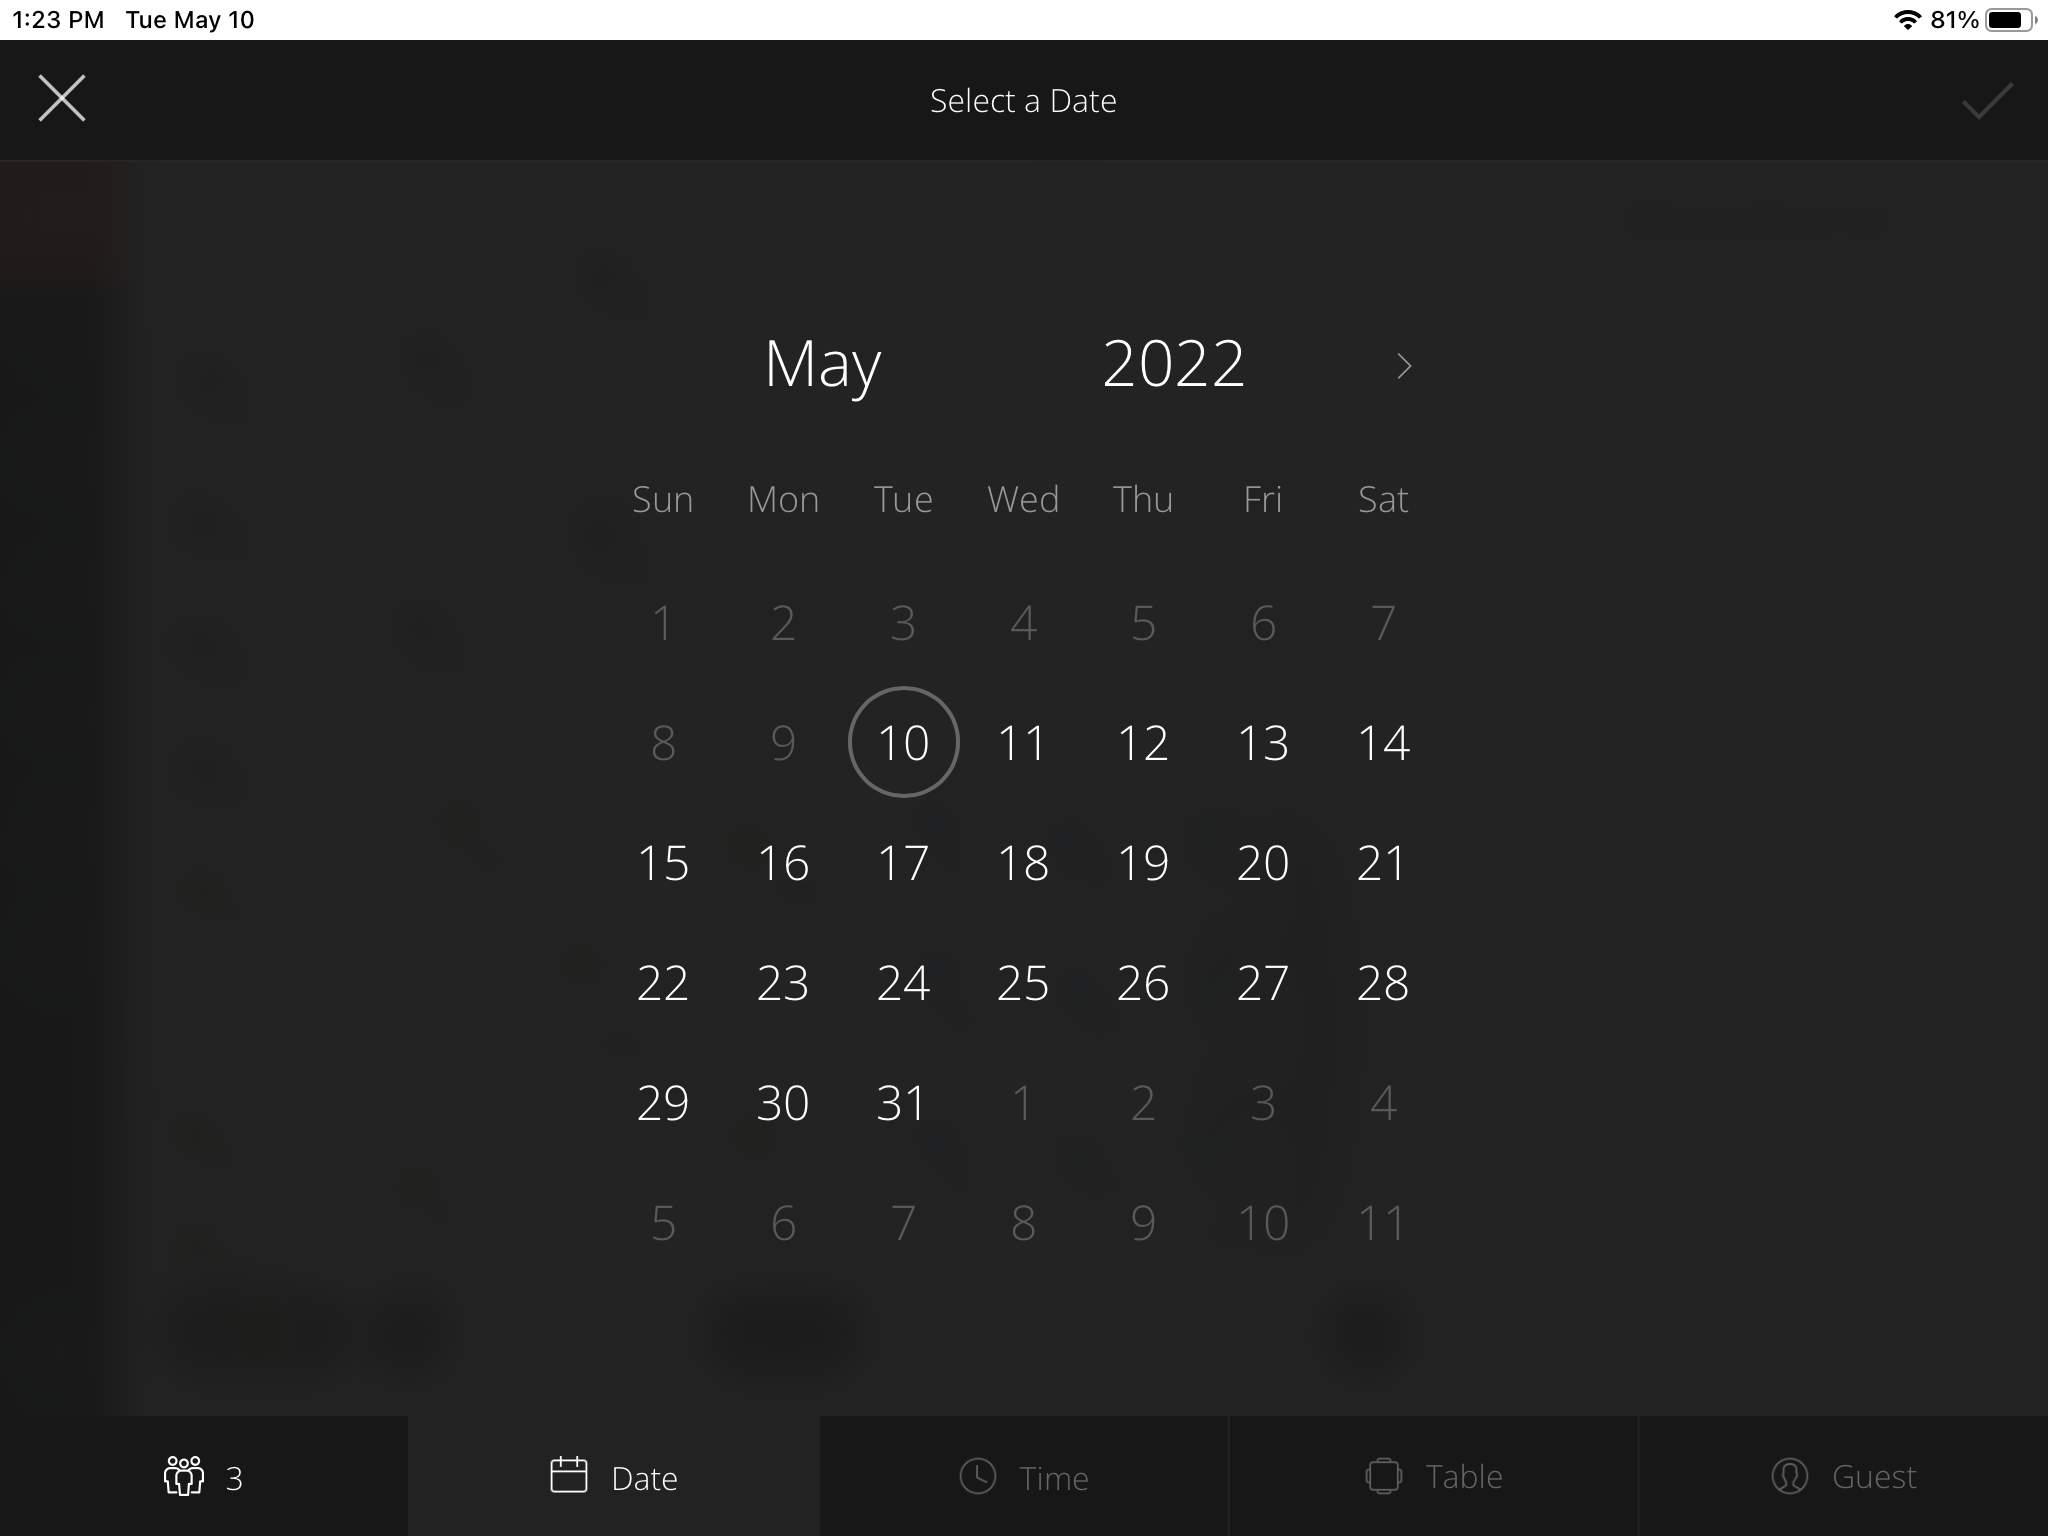
Step 3. Pick the date
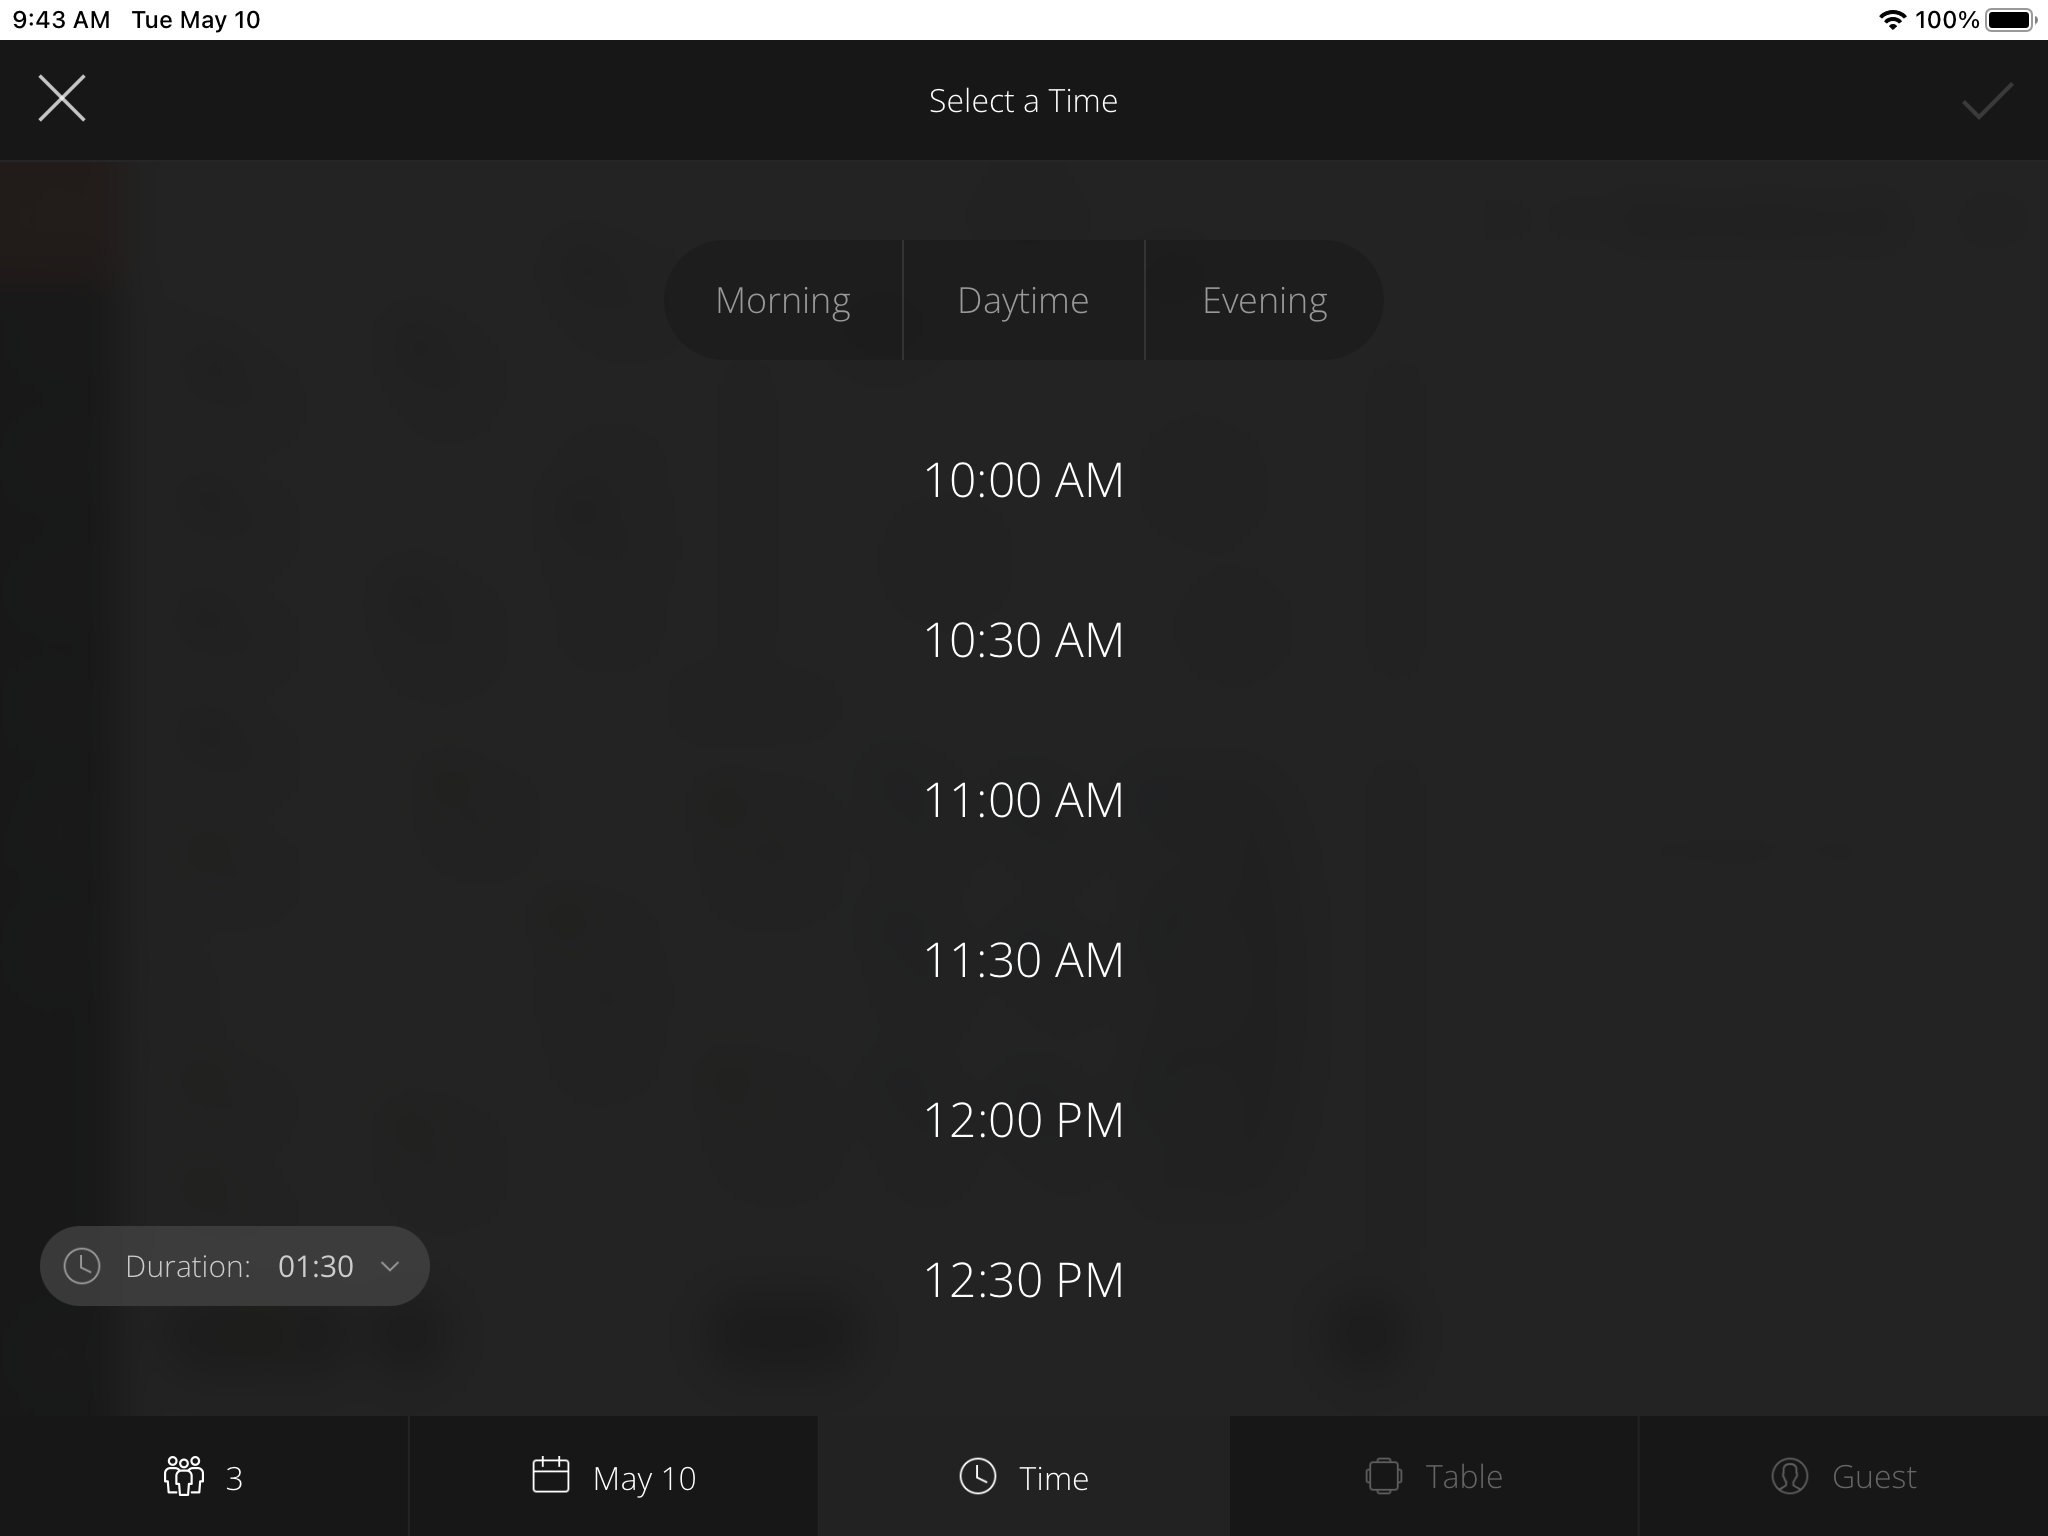
Step 4. Select time slot.
Step 4.1. Booking duration. By default, the duration is set to the table turnover time for the group size. This value affects time slot availability, because the system is trying to find the required number of tables available during this time.
Step 4.2. Select time slot. Select an available time slot from the list of all slots within the selected time window. If a time slot is not available a "No Table Available" banner will show under the time slot. You should move the time window to an earlier or later time.
If the auto table selection feature is activated in the Admin Panel, you will see that a table has already been selected and the system will take you to the next screen to add the guest. In this case, the system selected table D-22.
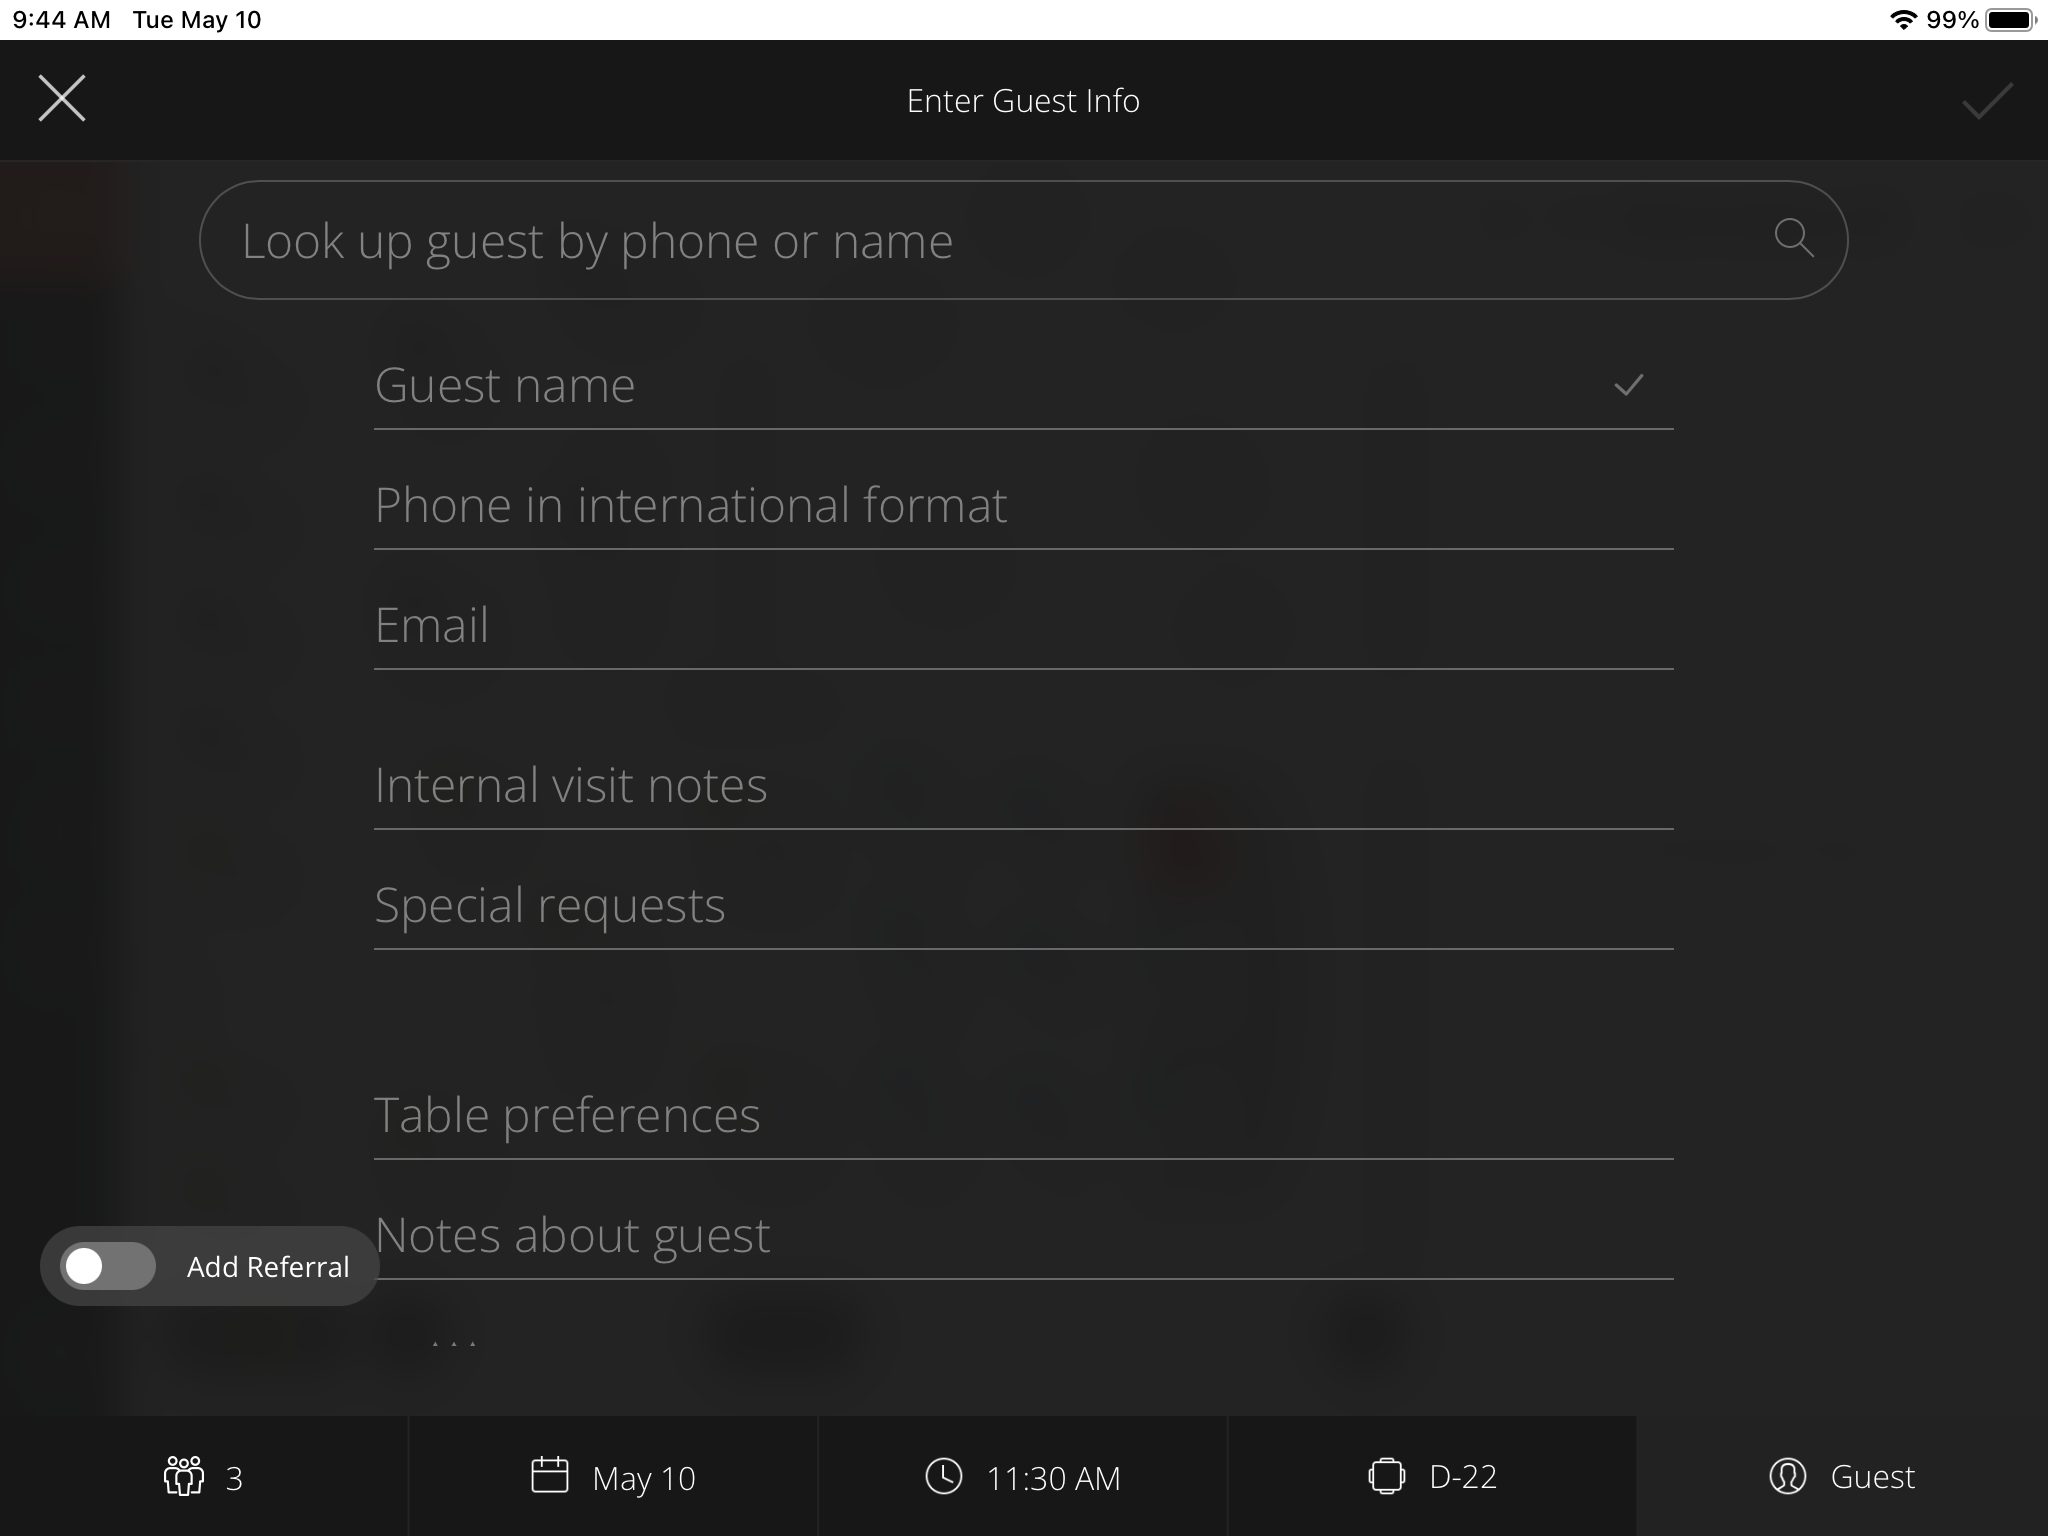
Step 5. Add the guest's name to the reservation
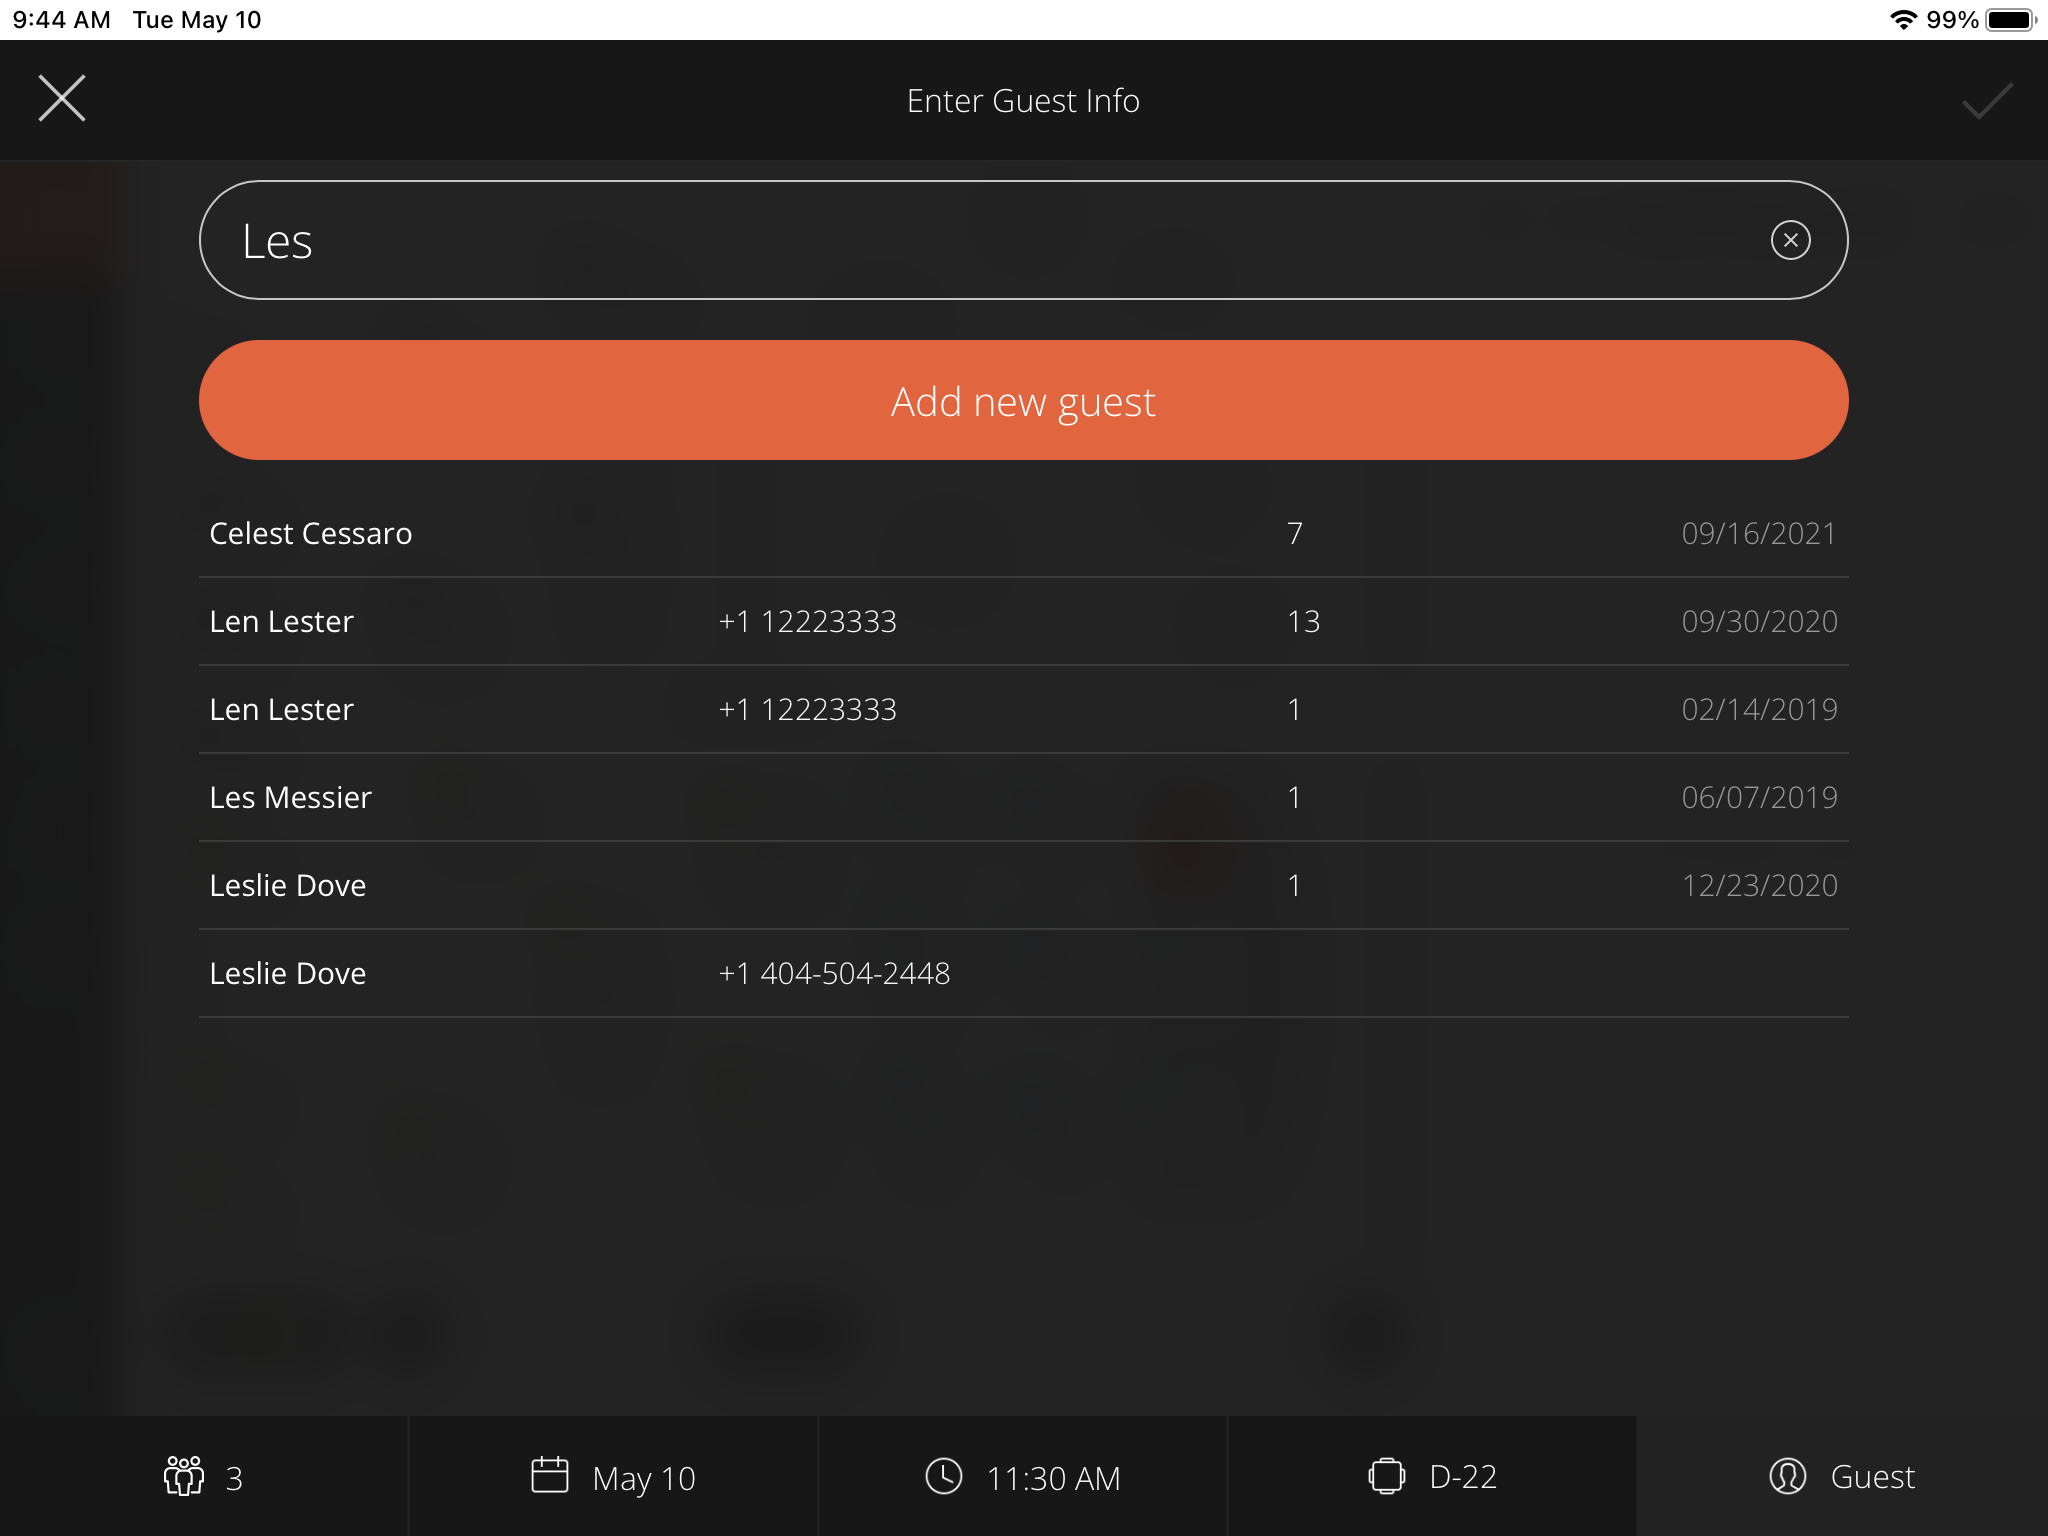
Step 5.1. Search for a guest by name or phone number. Start typing the guest's name or phone number. If the guest is found in the ResEasy system, pick the correct one and add more information about the guest or complete the reservation. If no guests are found with that name or phone number, add him/her as a new guest.
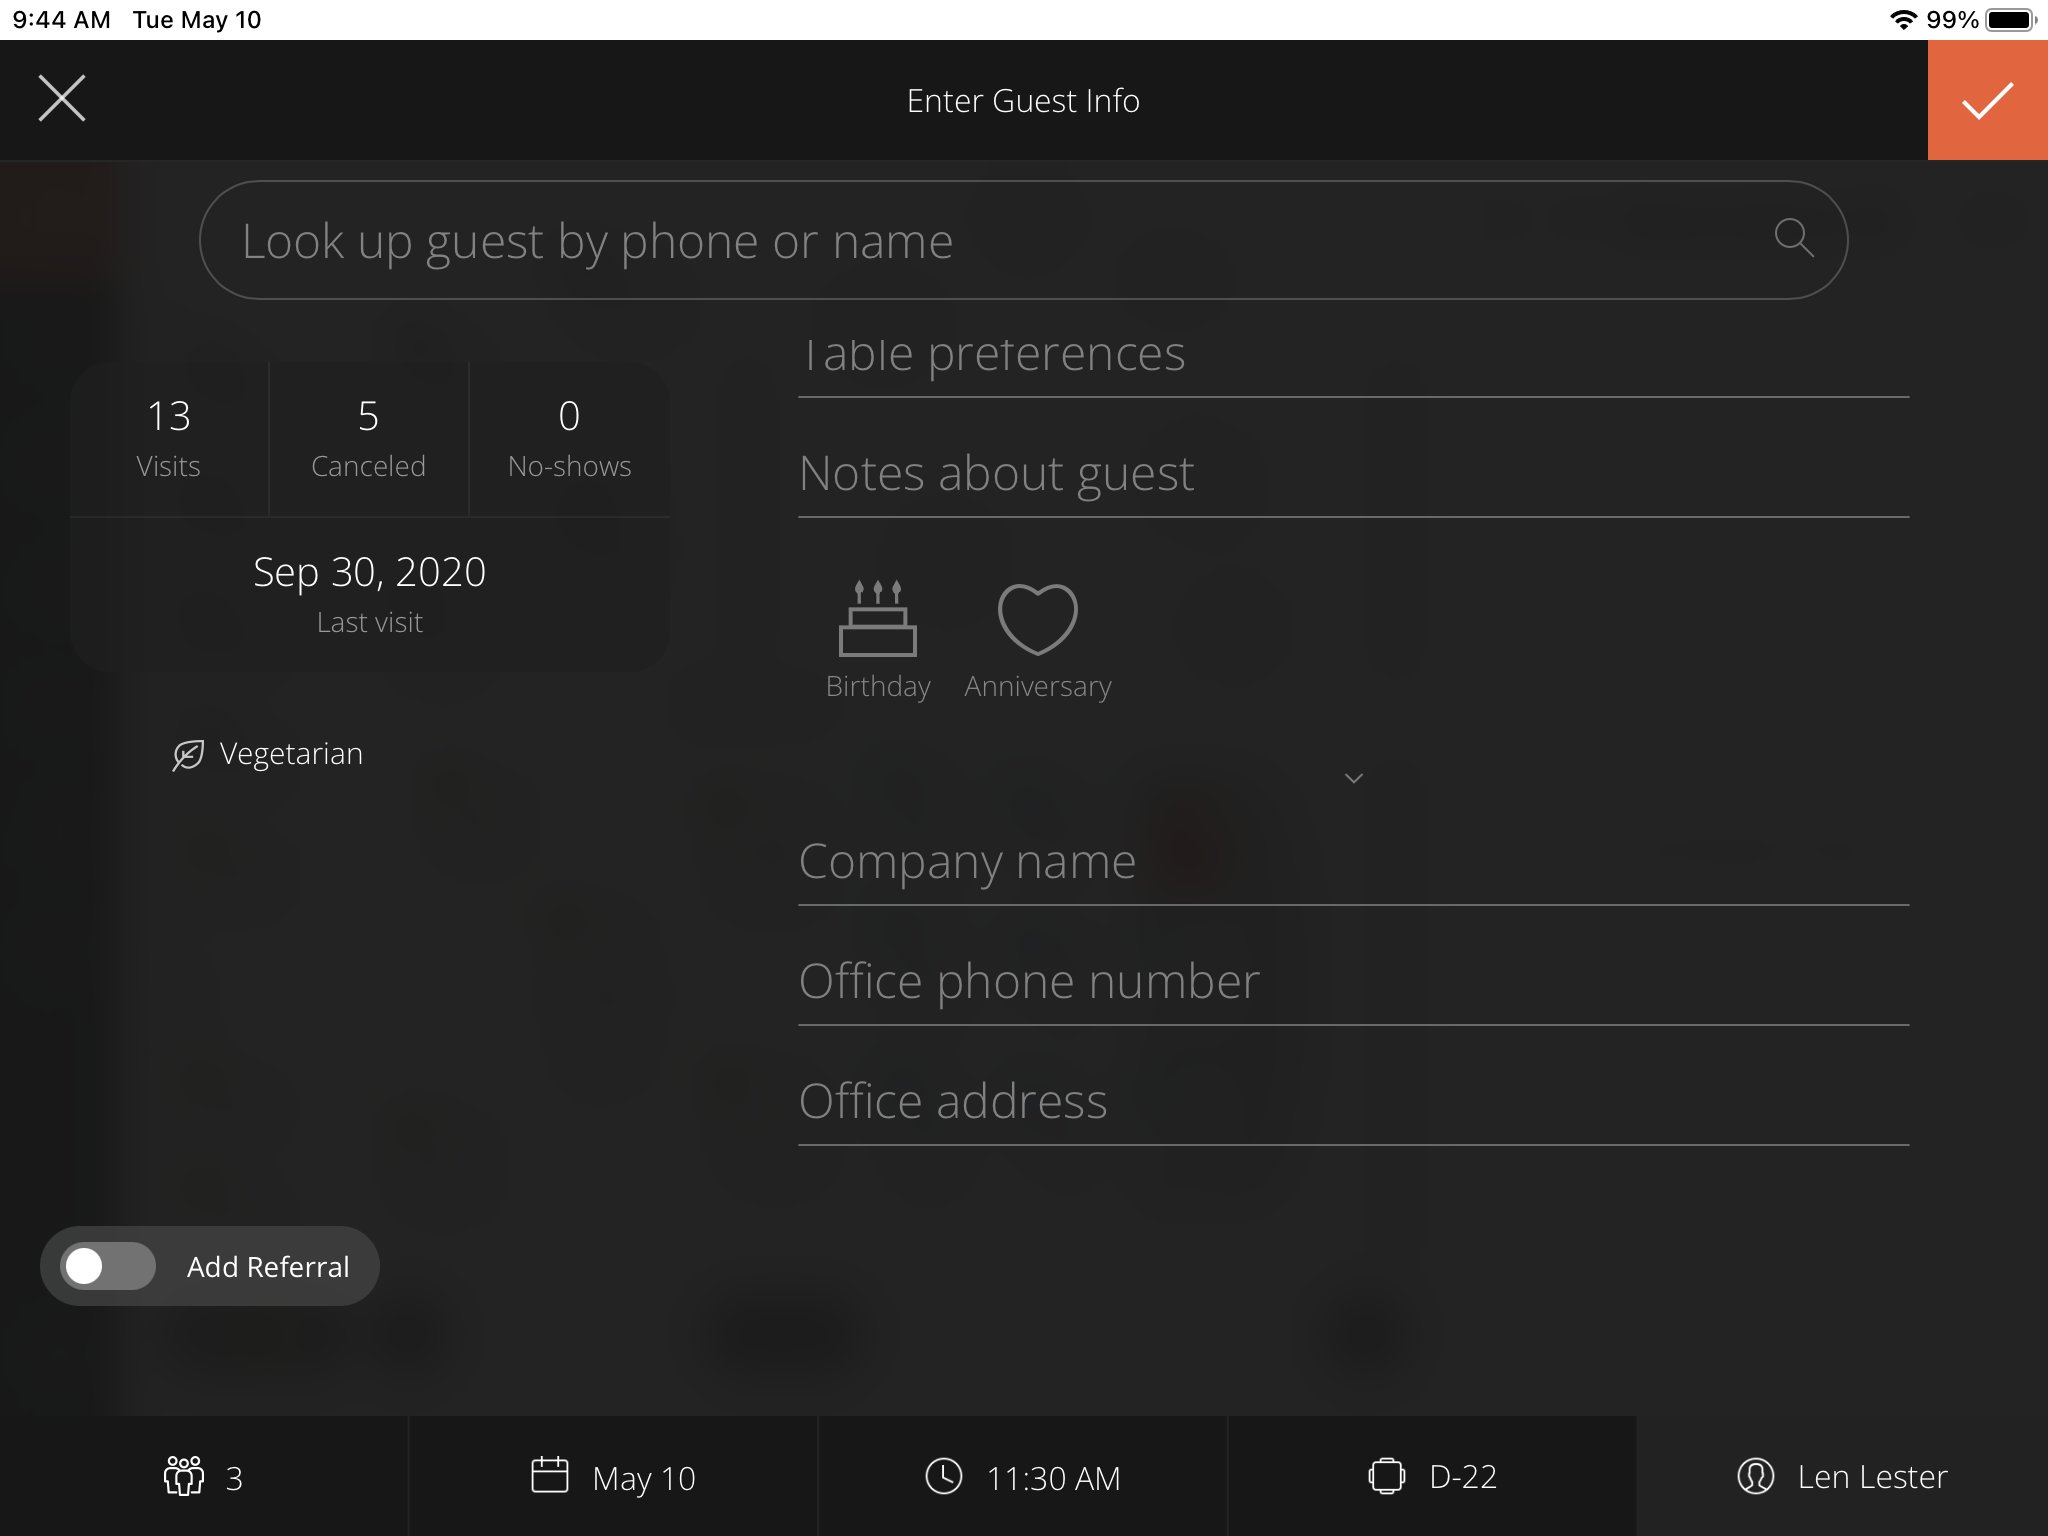
- Up-to-date guest history is displayed along with the date of the last visit.
- The system will also display allergy or preference information.
Reservation Notes:
- Data entered into the "Internal visit notes" or "Special requests" fields will only pertain to this reservation.
- Data entered into the "Table preference" or "Notes about guest" will be displayed to staff every time the guest visits the restaurant.
Celebration Icons:
- These icons are activated in the Admin Panel and displayed to FOH staff welcoming guests.
Company info:
- Enter company name , address and phone number if you wish to maintain an association between guest and company.
Finish the reservation by clicking on the check mark in the upper left on the screen.
The system will save the details on the reservation log.

Tip: You can save your entry or edits and finish the process of adding new parties or reservations as soon as you see the orange checkmark on the top right. That symbol means you’re not required to add more details, but you can if you wish.